Exterior painting is an important step to protect your home from the elements. Primary Painting is determined to provide our customers with a high quality exterior paint job, as well as excellent customer service. Please follow these steps to learn more about our exterior painting process:
- Initial Consultation
- Color Selection
- Job Preparation
- Paint Application
- Final Walk-Through
Read more below…

STEP 1 – INITIAL CONSULTATION:
The first step in the exterior painting process is the initial consultation. During this consultation we will walk around your home and review the areas to be painted. We will explain any problem areas, and will also inquire about your concerns or questions. We will provide a detailed estimate with all the various options that are available for your paint job.
Your quotation will provide the details about the surfaces that will be painted and the materials we will use to complete your job. Primary Painting uses Sherwin Williams products, ensuring that your home will continue to look its best for years to come. Leaving your estimate in the mailbox or on the front door is not an option. Every paint job is different, and is important to us to have the opportunity to discuss your paint job with you!
STEP 2 – COLOR SELECTION:
Many of our exterior paint jobs are single coat repaints of the same color. When repainting your home the same color we will match the existing colors. The easiest, and most accurate, way to match the colors is by taking samples from the original paint. Sherwin Williams will then custom match the colors. If you do not have paint to use for samples, we will use the Sherwin Williams color wheel to try to find a match. If there is not a color in the color wheel that matches, we will take samples from the least faded areas on your house and have Sherwin Williams custom match them. When we are finished, we will leave the remaining paint with you, so you will have all your paint formulas in the future.
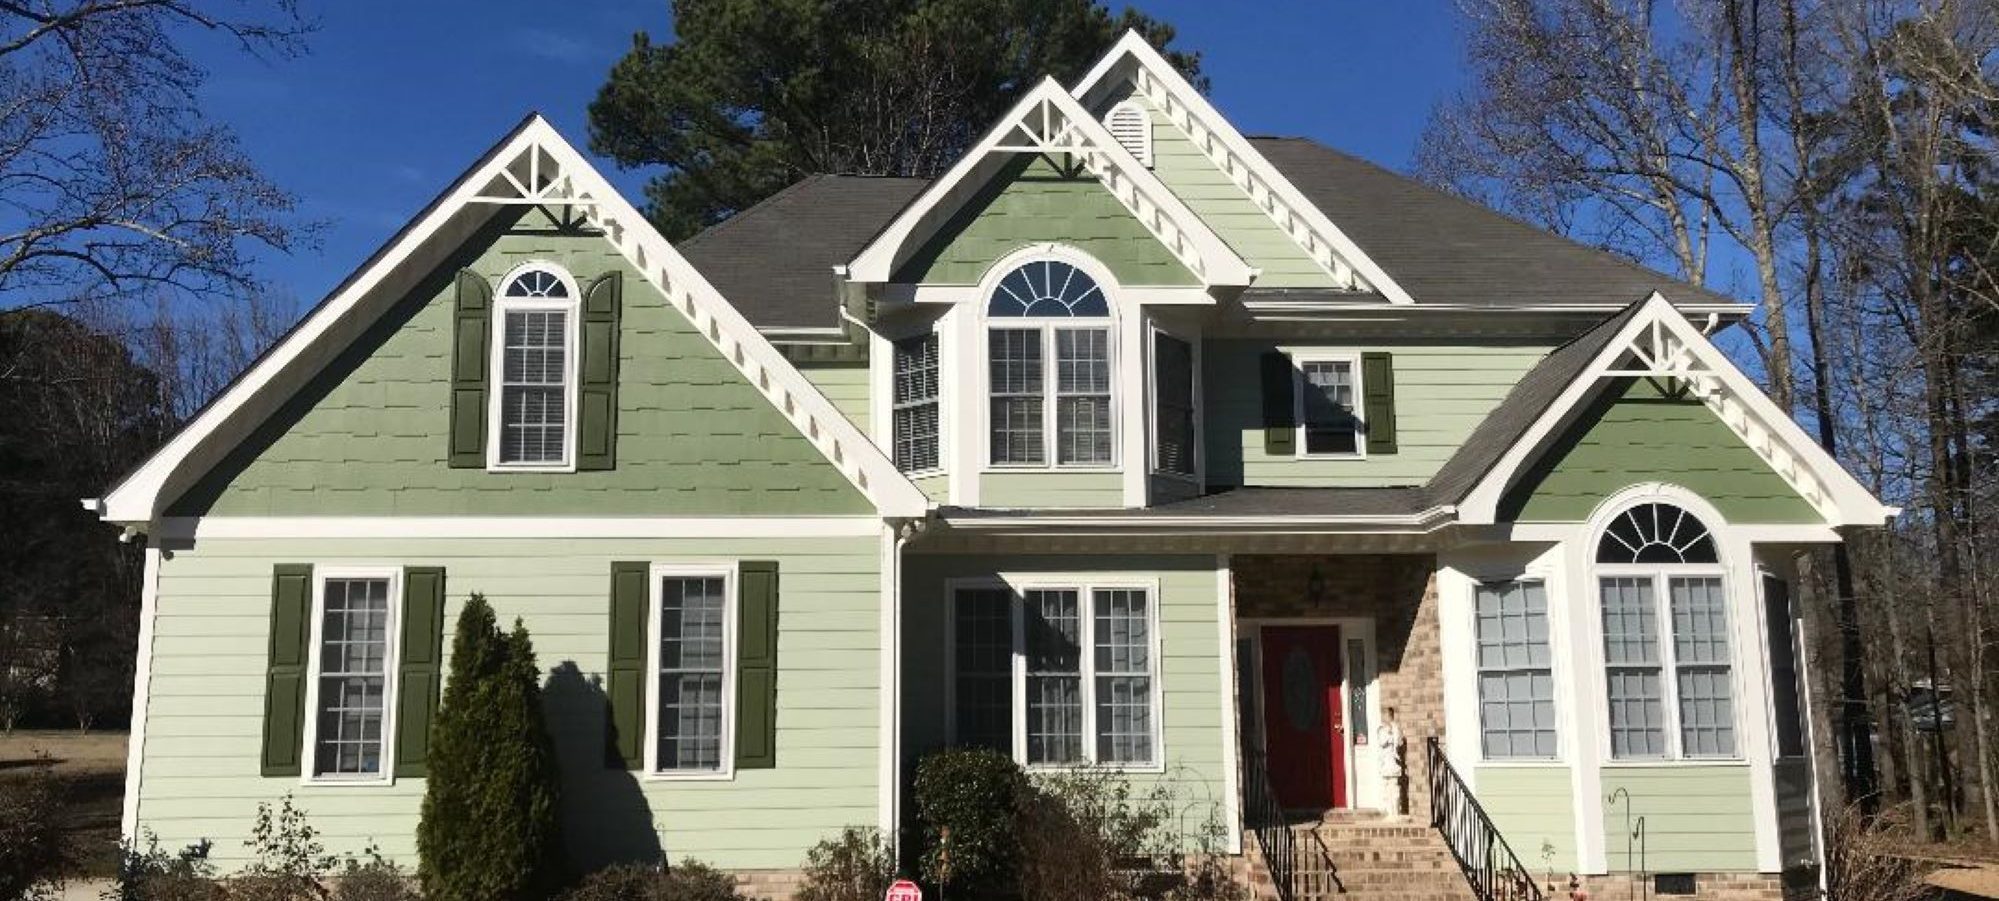
For two coat paint jobs, any exterior color can be selected. Color selection can be an intimidating process and trying to determine what color to paint your entire home based on a color chip can seem impossible. To help you through this process here are our suggestions.
Walk or drive through your neighborhood or nearby neighborhoods and look at houses to determine what color schemes you like. If you find a house that has colors you like, ask the homeowner what colors they have on their home. Since you will have seen the colors on a large scale, this is by far the best way to know you will enjoy the color on your home.
Go to a local Sherwin Williams and examine the colors on display there. Your local Sherwin Williams store has many pre-arranged color combinations on display. You may find exactly what you are looking for in one of these combinations.
If you are unable to find colors in the Sherwin Williams color wheel, you can look for colors you like at Home Depot, Lowes, Duron or any other paint store. We will take the color sample you select to Sherwin Williams and have them match it. Sherwin Williams has formulas for almost every color from every manufacturer, ensuring a fast, accurate match every time.
Once you find a color you like, you may want to sample that color on your home. Colors often look different when applied, so sampling is an important step, especially if you are unsure about a color. Contact us about having a sample applied to your house or you may apply samples on your own. Remember, ALL color changes will require two coats of paint, so your first coat will not be an accurate indication of the finished product. We will be happy to provide you with up to 3 sample colors with any two coat contract. Additional samples can be applied to your home for an additional charge.
Please remember, when changing paint colors, the color selection is the customer’s responsibility. If your colors must be approved by a homeowner’s association or architectural committee, please have this completed prior to our arrival. UNFORTUNATELY, WE CANNOT SELECT COLORS FOR YOU!
STEP 3 – JOB PREPARATION:
Look at any freshly painted home from the street and you may believe that the contractor did a “good” job. Never settle for a “good” job! The difference between a “good” job and a Primary Painting job lies under the surface! The preparation when refinishing a home is what will guarantee your home holds up years from now.
We start every job by powerwashing all surfaces to be painted. Even if your home appears clean, we must powerwash all surfaces to ensure a high quality paint job. Powerwashing removes all mildew, dust, and chalking paint which can prohibit paint from properly adhering to the substrate. We will also clean out your gutters to remove any debris before painting begins.
Our uniformed professionals will begin by caulking all joints and cracks. We caulk all expansion joints (where siding meets siding), trim boards and window frames — not just those that appear to need it. If all joints all not caulked, your home will be suspect to premature weathering.
We will fill all nail holes using painter’s putty. The painter’s putty dries to form an impenetrable barrier against the elements. Any unfilled nail holes can trap moisture which will lead to water damage. Especially on homes with Masonite siding, this is a critical step. If nail holes are not filled, water will build up in the nail holes and cause major damage!
Any areas of chipping or peeling paint must be sanded prior to painting. Simply recoating surfaces with peeling paint will only temporarily mask the problem. The proper way to deal with chipping paint is to sand down all surfaces to bare wood. Once all the loose paint has been removed, the exposed surface must be primed prior to painting to ensure proper adhesion. We prime all these areas using Sherwin Williams primer.
You take great pride in your home and the landscaping around it. Before painting we will cover all unpainted surfaces (shingles, landscaping, deck, concrete, etc). We also remove all street numbers, brass kick plates, doorknockers, shutters, and downspouts to ensure a complete paint job.
STEP 4 – PAINT APPLICATION:
After we have completed all prep work it, we will apply the paint. A Primary Painting paint job is always applied by hand with absolutely NO SPRAYING!
We believe that you will receive a far superior job when paint is applied with a brush. For one, it is nearly impossible to get a good thick coat of paint under the lapses on siding boards when you spray. Masonite siding is especially susceptible to rot and water damage. Without a thick coat of paint protecting the undersides of these boards you may end up having to repair the siding. Another benefit to hand-brushed painting is that you will not need to worry about spray damage to surrounding homes, vehicles, and landscaping. That ensures that you, and your neighbors, will be pleased.
The first step when applying the paint is to coat all of the siding on the home. Once the siding is complete, we will go around your home a second time and paint all window frames, trim boards, fascia boards, and overhangs. When the siding and trim are complete, we will paint the shutters and doors. After completing all painting, we will go around your home again to ensure that all windows have been cleaned and there are no drips or missed areas. If we are staining your deck, we will apply the stain to the deck once all painting is complete.
STEP 5 – FINAL WALK-THROUGH:
Once we complete the painting, we will meet with you and give you the opportunity to inspect the completed project for yourself. This is the final walk-through. The purpose of the final walk through is to ensure that your paint job has been completed to your satisfaction, so please feel free to ask questions! We will address all of your concerns. If it helps for you to use binoculars or to open windows and look from the inside, we encourage you to take those steps. Your paint job is never complete until you say it is!
